
Thursday, 04 June, 2026г.


Где искать: по сайтам Запорожской области, статьи, видео ролики
пример: покупка автомобиля в Запорожье
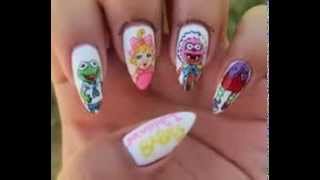
Nail Marbling Tutorial (for Beginners)
 У вашего броузера проблема в совместимости с HTML5
I'm really into nail art and creating different patterns with nail polish, but usually things like that take a lot of time and effort..So when I found out about nail marbling I was sooo excited. In this video I'm sharing with you what I've learned about this technique so far and the most important tips! I hope this video was helpful :) What you will need: 1. Base Coat 2. 2-unlimited Nail Polishes in different colors (suggested limit is 4 nail polishes) 3. Top Coat 4. Cotton Pads 5. Q-tips 6. Nail Polish Remover 7. Plastic Glass or Bowl (should be deep and wide enough for you to dip your finger in) 8. Water :P 9.Toothpicks or any type of pointy sticks (I'm using kebap-sticks) 10. Chap-stick or Tape&Scissors 11. Tissues TIPS: 1. Water should be room temperature. Filtered water is the best, bottled comes up next and the worst is tap water. 2. The nail polish should'nt be fast dry. 3. Glitter nail polish wont work as well. 4. Clean all the excess nail polish from the surface of the water before getting your finger out and be sure its clean before you start with your next one. 5. Clean off the excess nail polish from your toothpick while lining the nail polish so that your design wont get wrecked. 6. Have the brush close to the surface of the water when dropping nail polish in so the drop wont sink in the water.
Похожие видео


Мой аккаунт