

Tuesday, 04 August, 2026г.
















Где искать: по сайтам Запорожской области, статьи, видео ролики
пример: покупка автомобиля в Запорожье
SPIPGM2.EXE to Fix Bad BIOS Flash on ASUS Motherboard
 У вашего броузера проблема в совместимости с HTML5
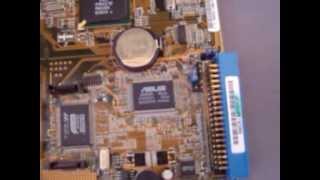
Success! I ruined my P5B Deluxe by flashing the BIOS in Windows. Click "Show more" to read procedure to fix:
1. You will need SPIPGM2.EXE and CWSDPMI.EXE. You only run spipgm2 but I read that spipgm2 requires cwsdpmi.exe to be in same directory. I had to Google and sort through many pages of results to find. The old program is SPIPGM.EXE but use new.
I just uploaded these. Download spipgm2.exe here:
http://minus.com/l72KEcZa80dJH
http://www.filedropper.com/spipgm2exe
http://www8.zippyshare.com/v/91710553/file.html
http://depositfiles.com/files/i49tv7liv
http://www.filefactory.com/file/3u15eotec0pt/n/SPIPGM2_exe_rar
http://www.filejumbo.com/Download/5BB35C6176D5EF66
http://wikisend.com/download/416942/SPIPG
pastelink.me/dl/b33fed
http://justbeamit.com/fd13c
http://www.gigasize.com/get/mom698k8s3d
http://www.yourfilelink.com/get.php?fid=812286
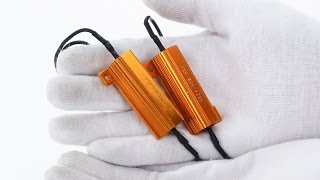
2. Make DB25 to SPI port cable. I used 240 Ohm resistors but maybe not needed.
http://wildbagger.com/wordpress/tag/spipgm/
http://mondotech.blogspot.com/2009/05/asus-p5b-deluxe-bios-recovery-spi-flash.html?
Other MB manufactures may have different pin-out for SPI port. You may have probe the flashROM chip with ohmmeter and compare to data sheet for correct cable pins.
3. Get needed BIOS from ASUS and re-name to less than 8 characters long name.
4. Boot to DOS. I used NTFS4DOS boot CD and ran off C:\ hard drive.
http://www.bootdisk.com/ntfs.htm
Run the commands:
5. "SPIPGM2 /i" To identify JEDEC ID. If ID=FFFFFFh then re-plug cable into mother board. I had to re-plug many, many times! I found if I held at angle where pin 1 made contact first it seemed to help. Keep re-plugging until /i gives reading.
6. "SPIPGM2 /U" This unlocks chip/
7. "SPIPGM2 /E" This erases chip.
8. "SPIPGM2 /R 0x10000 0x200" This reads 200 (hex) bytes starting at location 10,000 hex. They should all be FF. If you see anything other than FF everywhere then keep running /U and /E until all is erased in EEPROM. Also look at location 0x00.
9. "SPIPGM2 /U" This was the important one! I wasted days until I did this before program. Once I did this the /s programming worked and all was fixed.
10. "SPIPGM2 /S MYBIOS.ROM" Download the BIOS from ASUS and rename to be 8 letter or less. The /S is slow. I found the /P programming command did not work correctly but maybe I just needed the /U first.
11. "SPIPGM /R 0x10000 0x200" To see if it looks like you have valid data written.
12. Clear the CMOS battery by moving jumper CLRTC to pins 2-3 then replace to pins 1-2.
13. Once computer will boot, re-flash the BIOS using the ASUS supplied AFU236U.exe in DOS! Never use the Windows program ASUS Update!
I wasted three days before got to work. I put 240 Ohm resisters in series on the four data lines, switched power supplies,and did many things. I tried 3.5 Volts then was at 4.8 Volts with high current supply when I had success. I do not if any of this was needed. Others reported success with no resistors. Step 5 was the one that worked and I did not try anything else with the flashROM once I got mother board to boot.
Do not give up, SPIPGM will fix if you keep at it.
Похожие видео
Мой аккаунт